For Christmas this year we decided to get ourselves a new TV for the bedroom. We decided it would be mounted on the wall at the foot of the bed. But what are we going to do with the “accessories”? The DVD player and the satelite reciever. Both older machines, so not like these slim new ones. We couldn’t decide on a place out of the way, so they’d have to go just below the TV on a shelf of some sort. After a quick trip to the hardware store to look at shelves that would hold these large machines on the wall and finding nothing really appealing, whatelse, let’s build something. So back to the drawing board I went and came up with this,

It would come right to the bottom of the TV hanging on the wall and out away from the wall just as far. We debated a frame to go around the TV but being as the control panel was on the side of the TV, we thought this would just be a nuisance. Biggest thing is it would have a 1″ gap in the back in places for cords. The edges would sit flush with the wall though. The picture frame was added as a way to get the shelf far below the TV without just having dead space. Plus, we could use the space behind it for cords.

I started with the base. Just simply a 2×6 on either side, 2 shelves same thing and then a sloping out to accomidate the electronics shelf. In the middle of the backing was an offset back piece that allowed a 1 inch slot behind for cords. The electronics shelf would be held on by 90 degree brackets on the front and the 1×6 backing that came up 2 inches in the back to attach to the bottom of the electronics shelf.


Next came the picture frame and that was a challenge. But after a few miss cut pieces and a lot of fine cutting it was done. It was attached with wood pieces behind and one screw in the front.

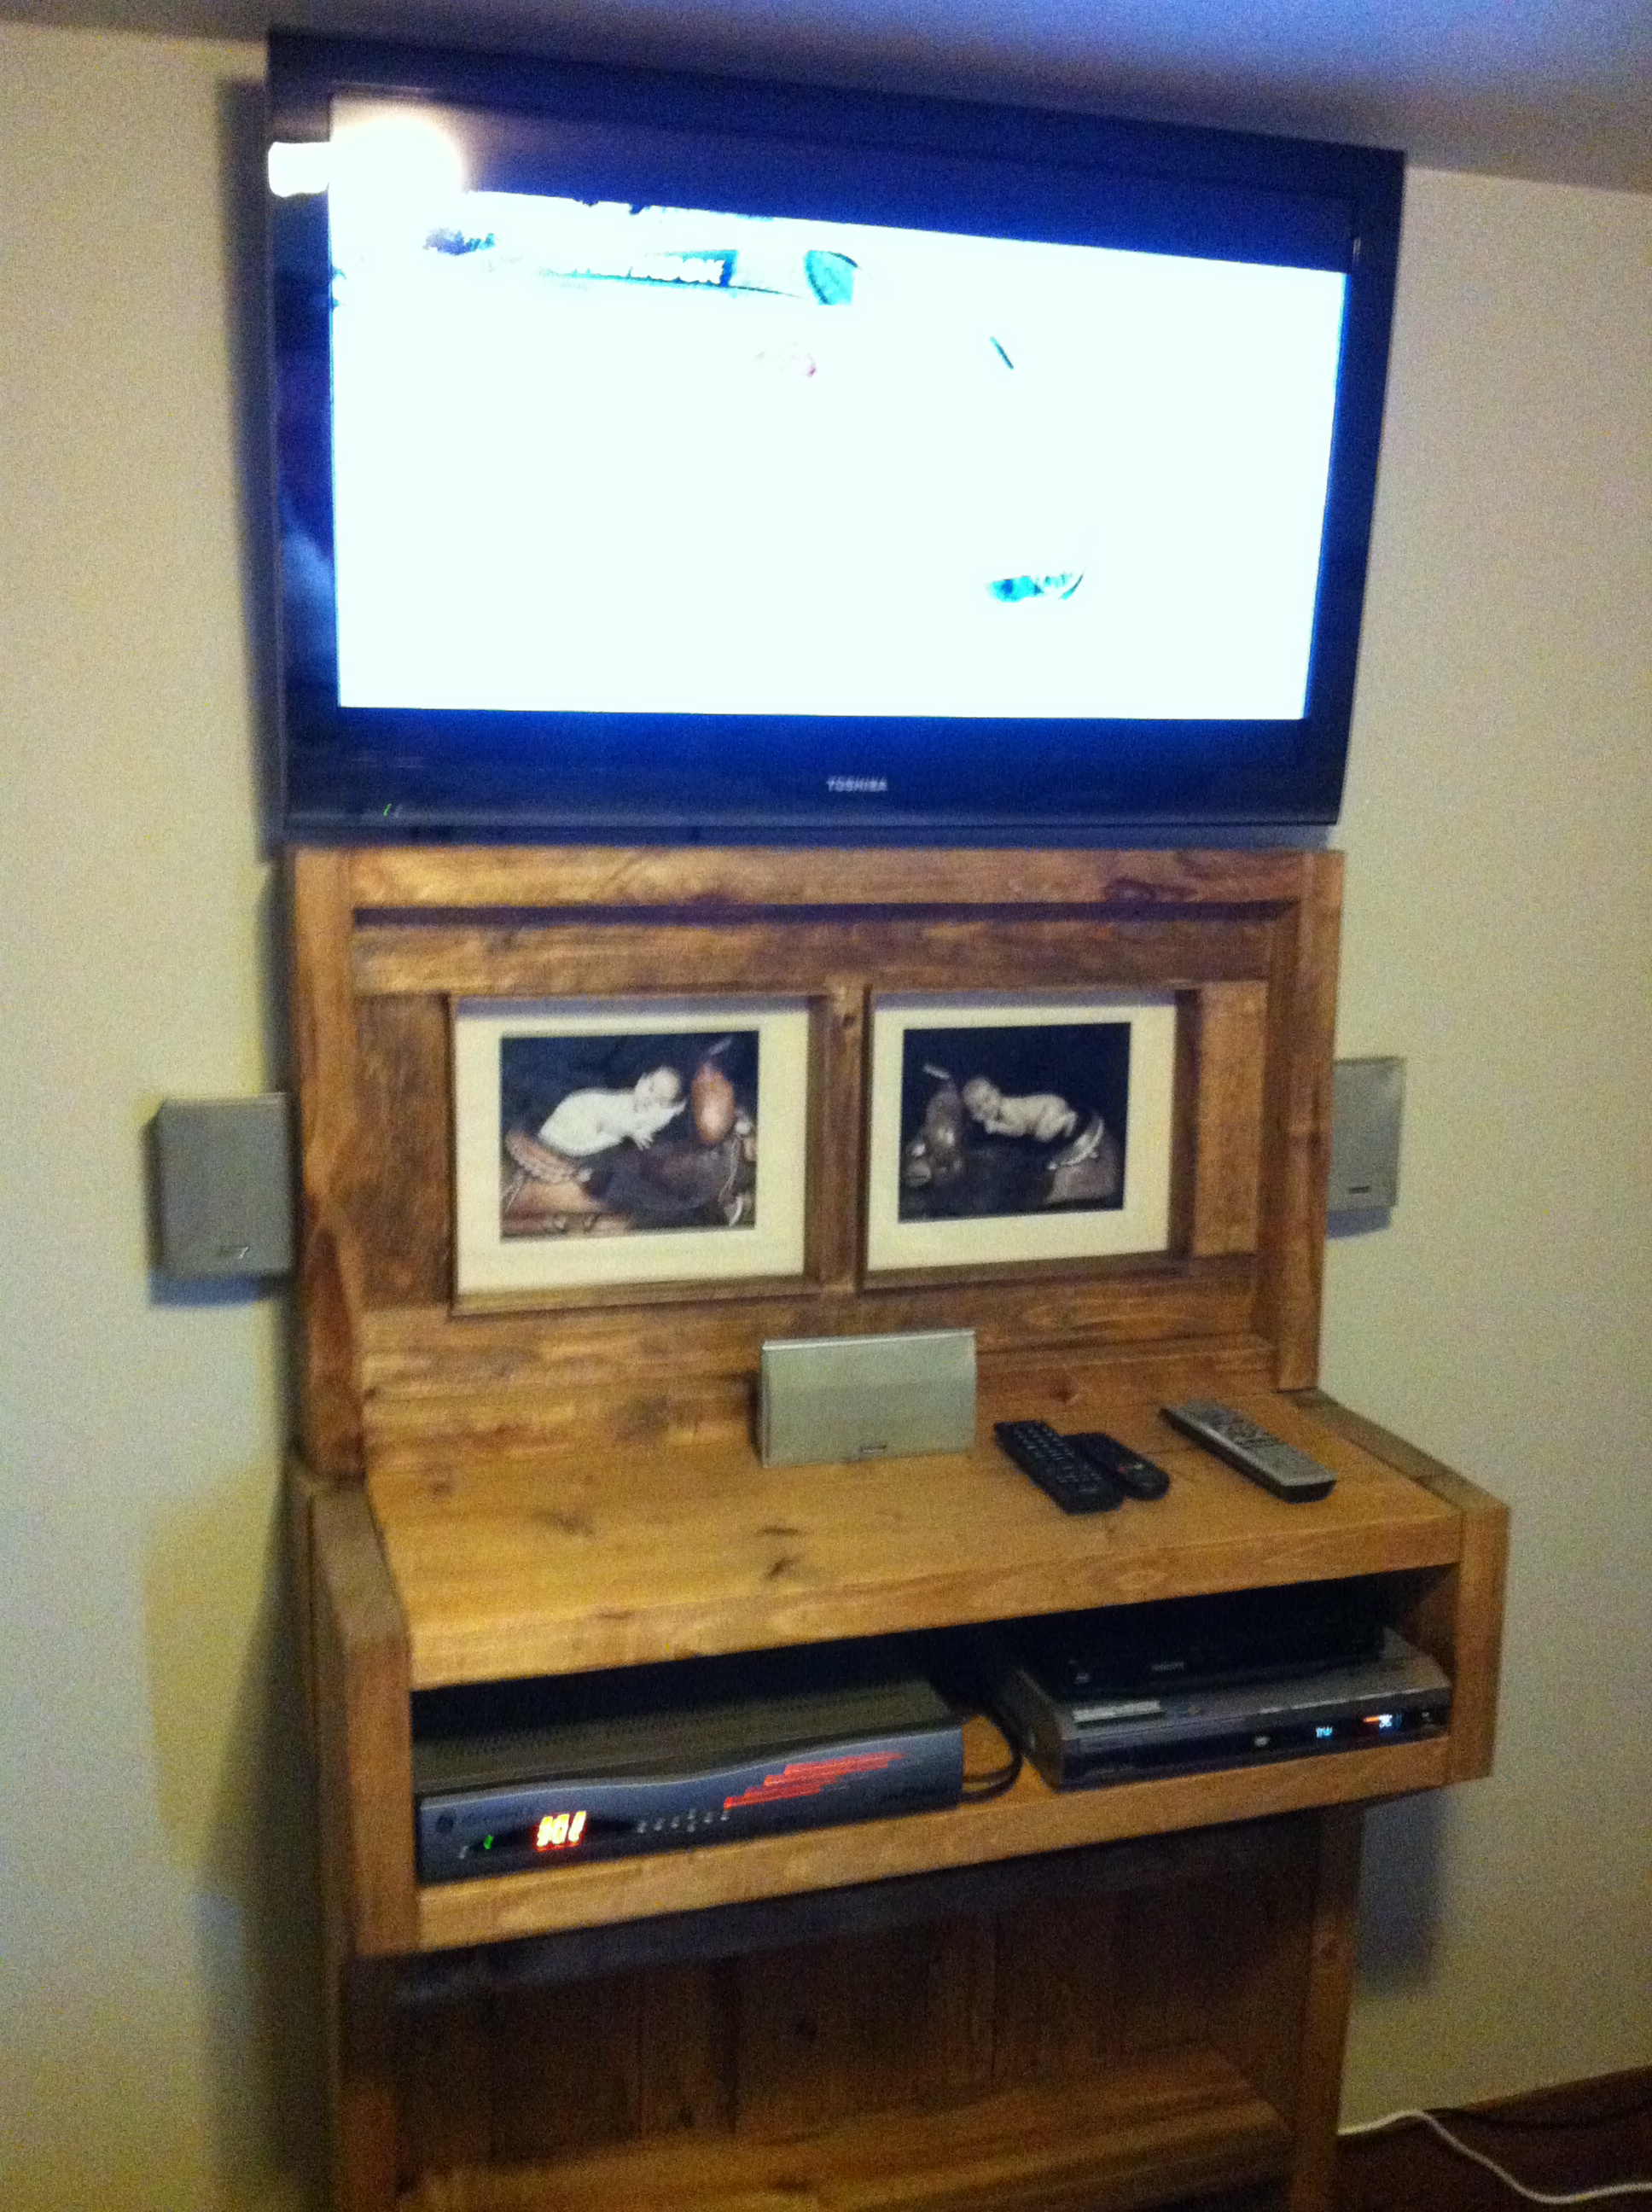
I then stained it again with Danish oil, added the glass and photos to the picture frames and moved it up to the bedroom. This is what it looked like after it was all setup under the TV.